Open-Source CoreXY 3D Printer
I wanted to build my own Voron, so I made my own design.
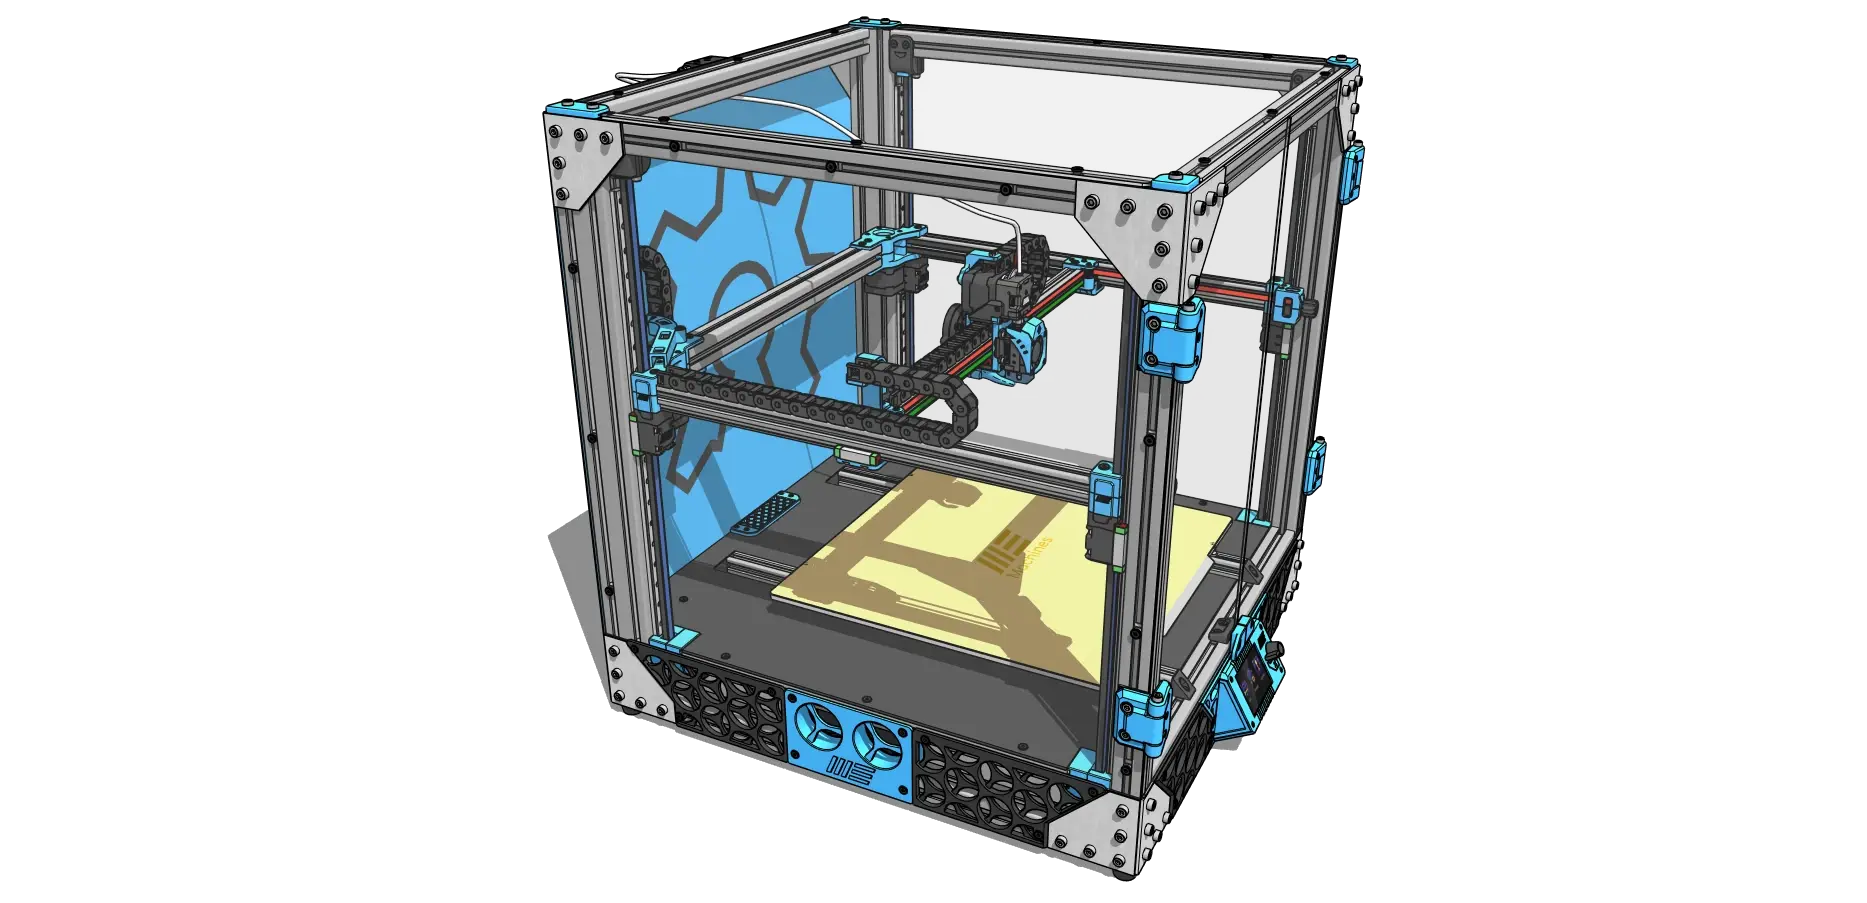
This is my take on a CoreXY printer that follows the same mechanical principles as the Voron.
MY-CoreXY 3D Printer
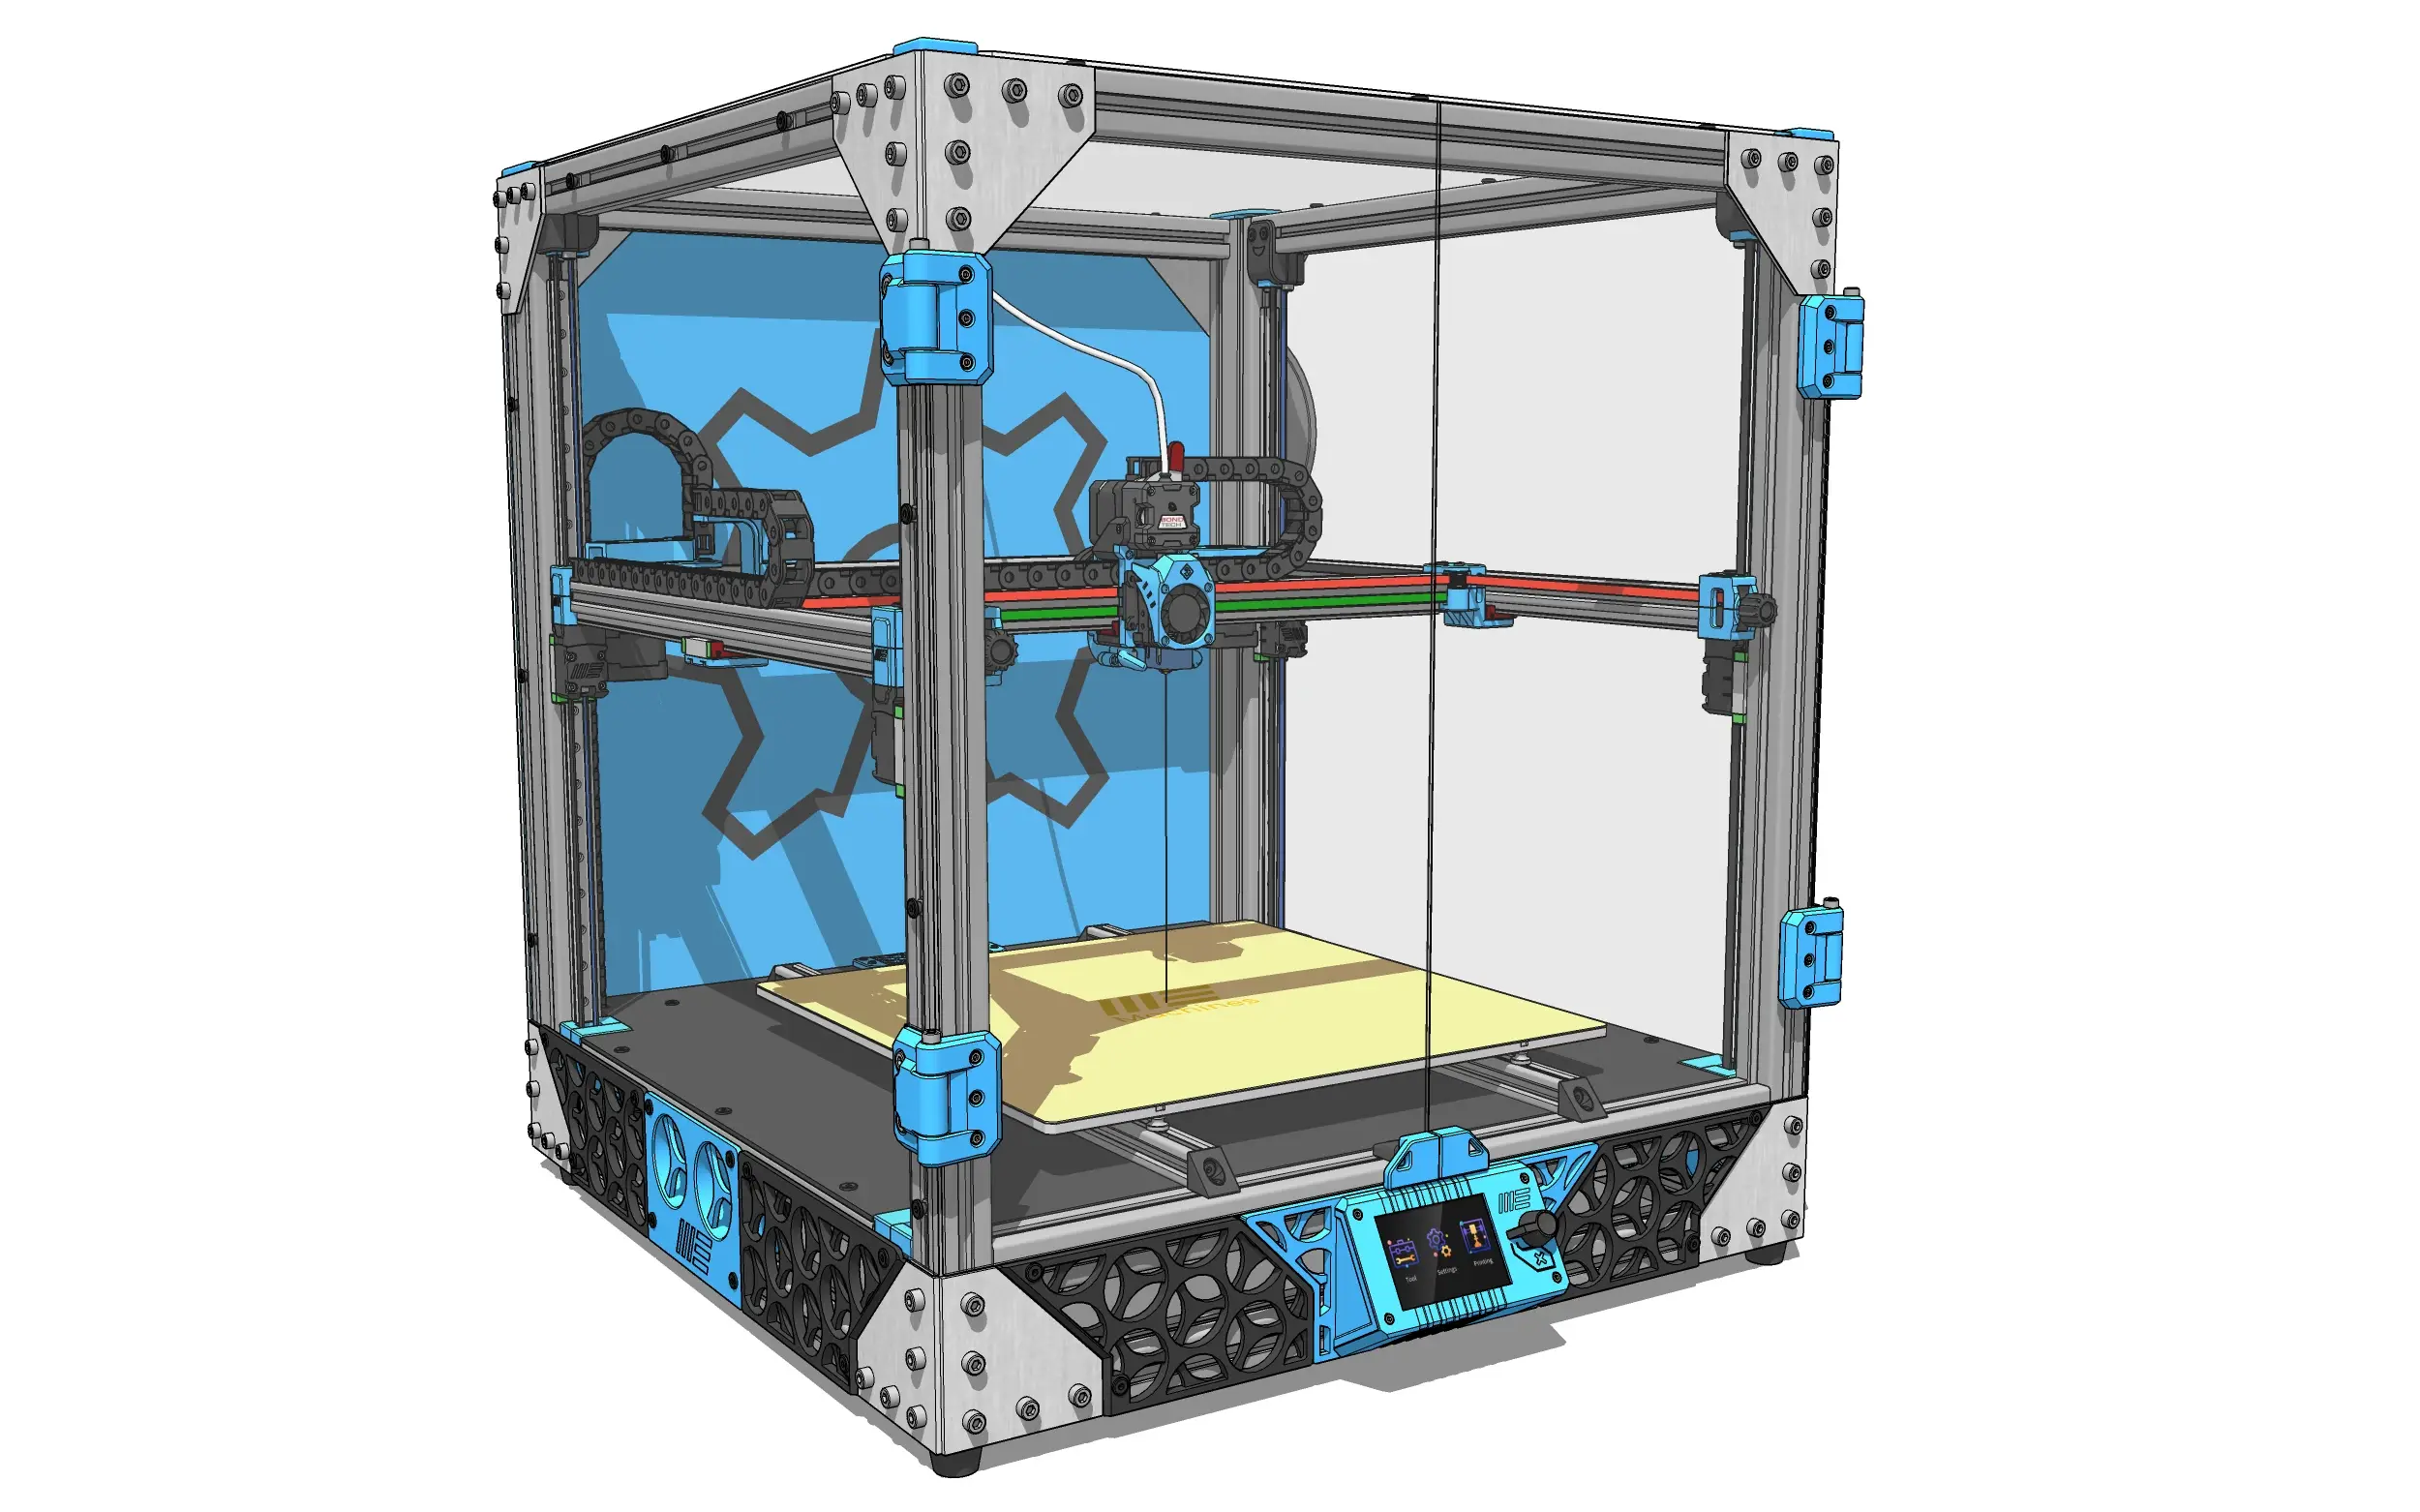
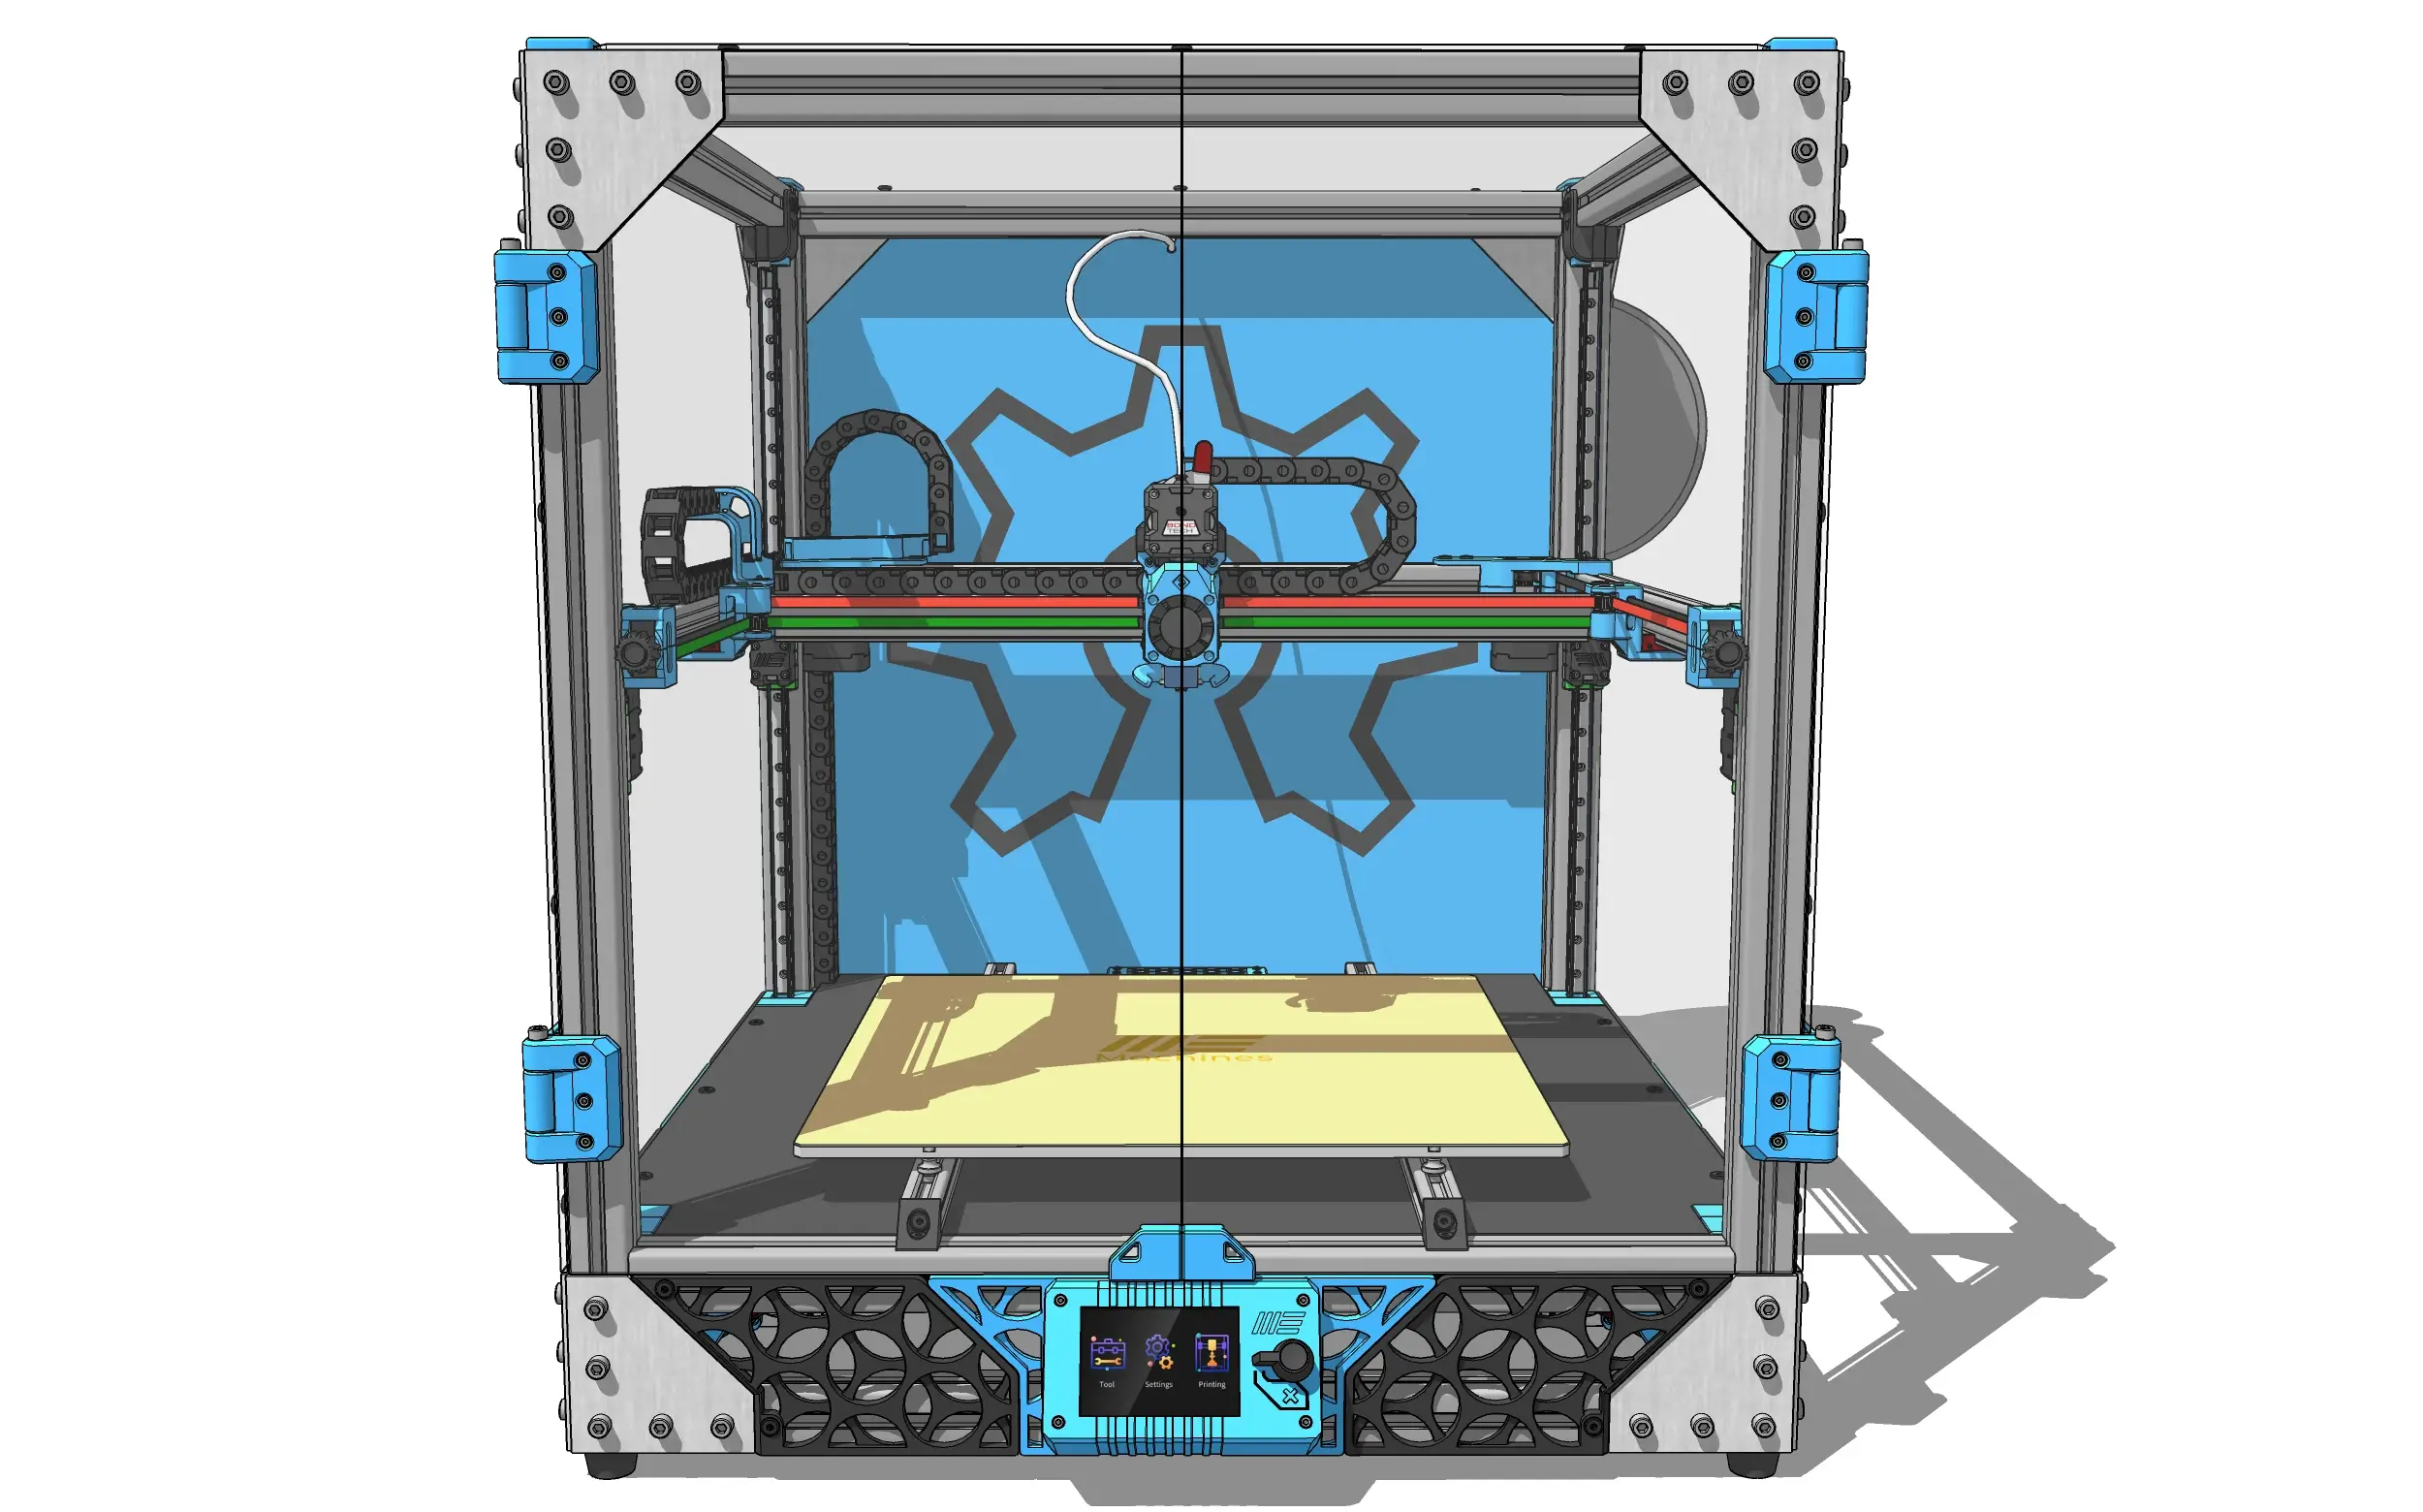
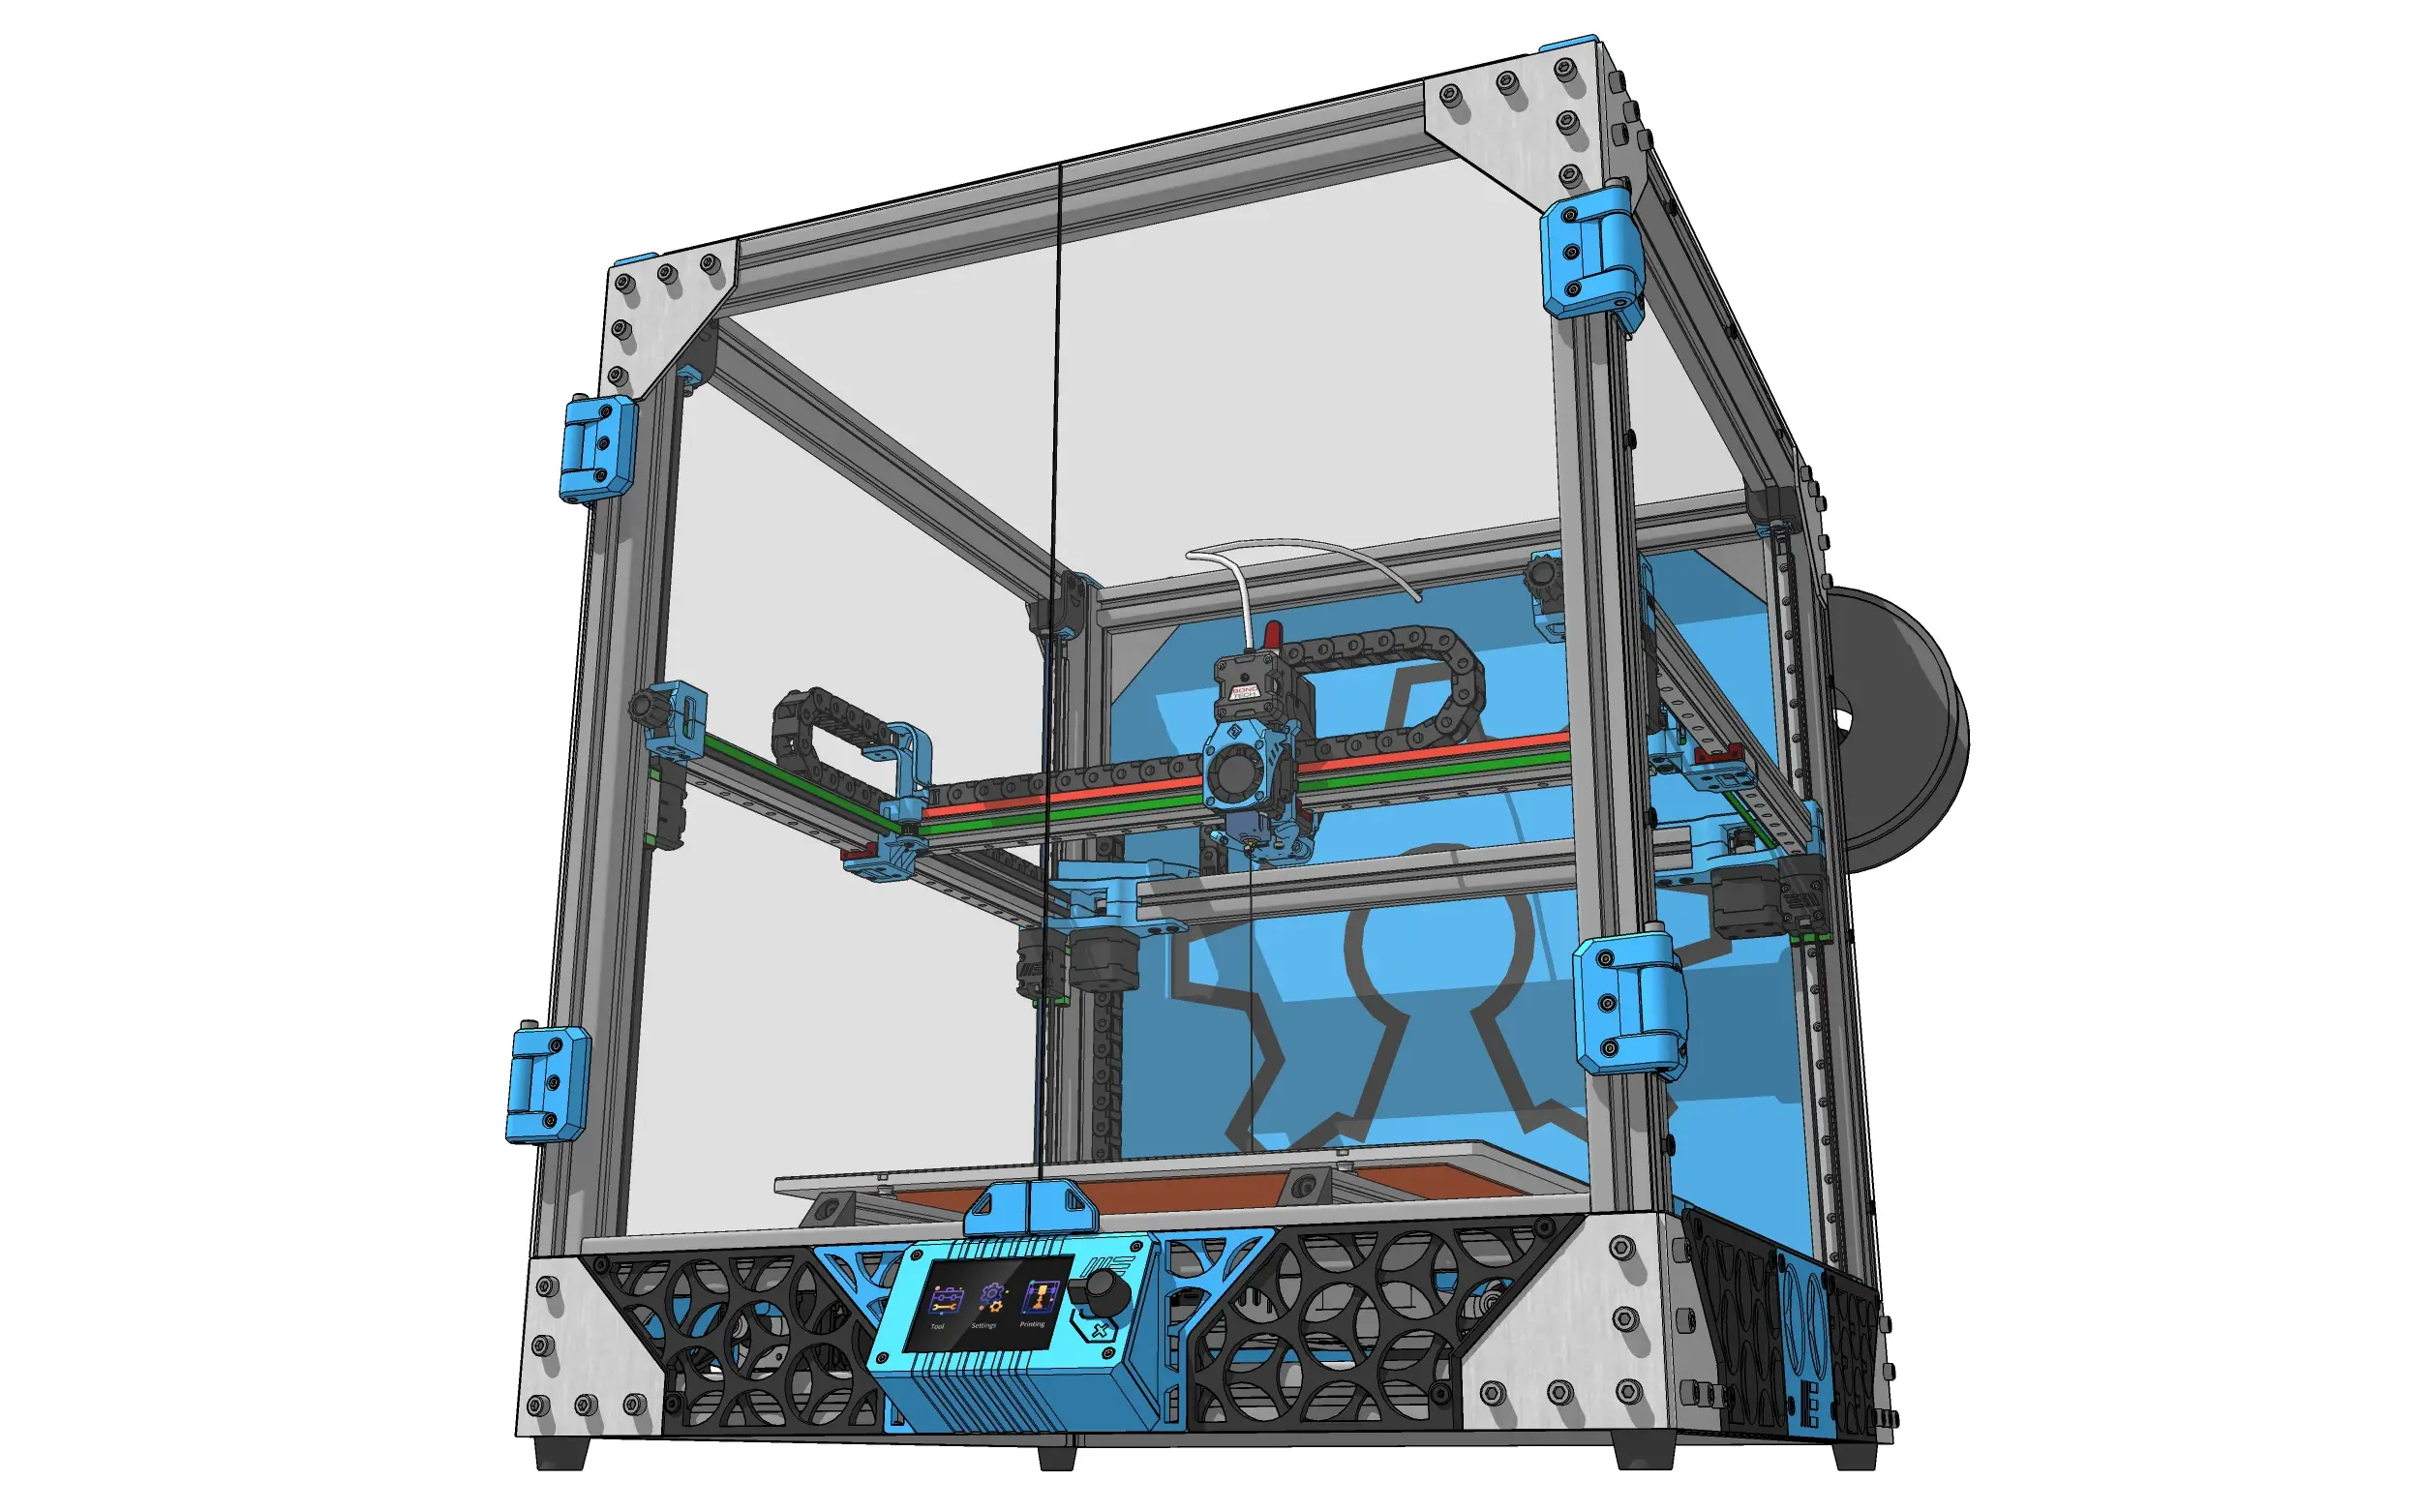
The MY-CoreXY-3D-Printer is an open-source CoreXY 3D printer, designed for high-speed and high-precision printing. Inspired by the Voron series, this project is ideal for makers, engineers, and DIY enthusiasts looking for a reliable and customizable 3D printer.
Key Features
Provide a general summary of the services you provide, highlighting key features
and benefits for potential clients.
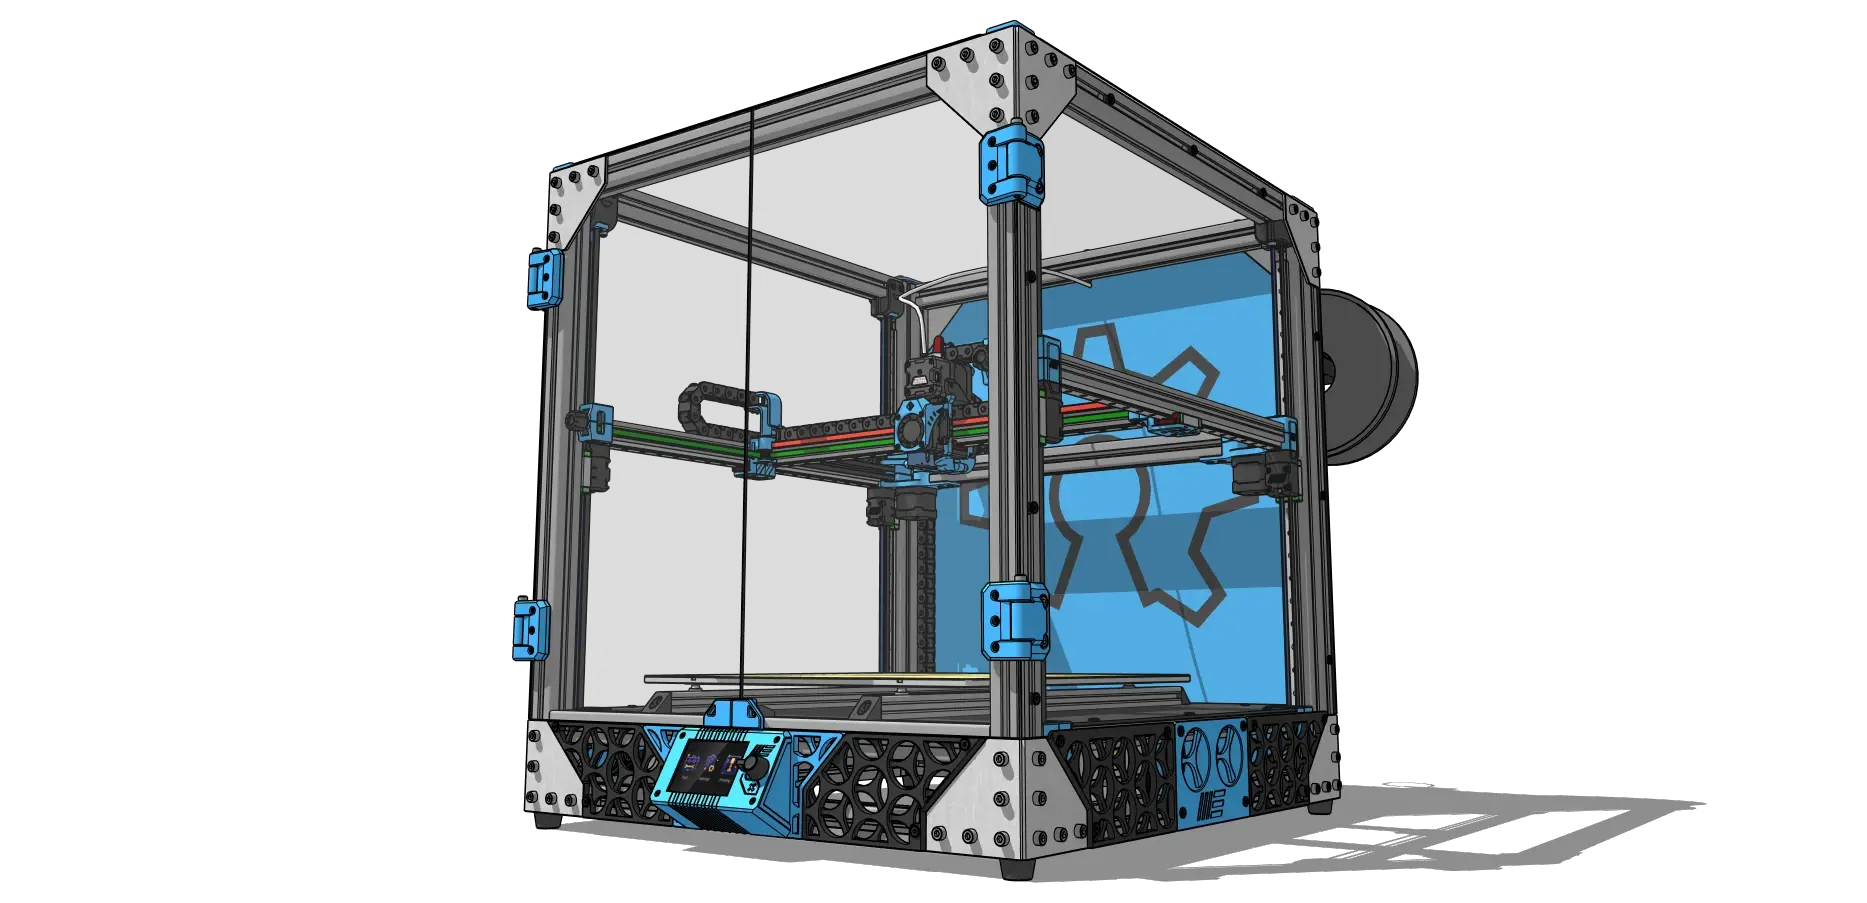
- CoreXY Motion System – Efficient and precise movements for high-quality prints.
- EVA Extruder Support – Modular extruder system for easy upgrades and customization.
- Rigid Aluminum Frame – Built with 30×30 mm aluminum extrusions for enhanced stability.
- Adjustable Print Size – Available in 400x400x400 mm, with 300x300x300 mm and 250x250x250 mm options.
- Advanced Firmware Support – Optimized for Klipper with a Raspberry Pi.
- Future Multi-Color Support – Planned Turtle Box system for multi-color printing.
Check out the EVA extruder project and show your support:
Technical Specifications
You didn’t come this far to stop
Frame & Structure
- Print Volume: 400x400x400 mm (Optional: 300x300x300 mm, 250x250x250 mm).
- Frame Material: 30×30 mm aluminum extrusions.
- Print Bed: Fixed bed with gantry leveling and mechanical bed leveling.
Motion System
- CoreXY Drive System: Efficient belt-driven system with motors mounted on the upper frame.
- Linear Guides: MGN12 linear rails on all axes for smooth and accurate movement.
- Belt System: Robust tension-adjustable belts for perfect alignment.
Extruder & Hotend
- Extruder Type: Direct Drive EVA extruder.
- Hotend Compatibility: Supports multiple hotend configurations.
- Future Upgrade: Planned Turtle Box system for multi-color printing.
Electronics & Control
- Mainboard: Makerbase MKS Monster 8.
- Firmware: Optimized for Klipper, also compatible with Marlin.
- Connectivity: USB, SD Card, and Wi-Fi (via Raspberry Pi).
Power & Heating
- Power Supply: 24V system, with a 240V heated bed.
- Input Shaping Sensor: Implemented for resonance compensation.
Speed & Precision
- Acceleration (XY): 2500 mm/s²
- Max Print Speed: Up to 350 mm/s
- Jerk (Corner Speed): 5 mm/s
Controller Board
The Makerbase MKS Monster 8 is a powerful 32-bit mainboard designed for high-speed 3D printing. With support for Klipper and Marlin firmware, it delivers advanced performance, smoother motion, and precise control. This board is ideal for CoreXY setups, making it a perfect match for the MY-CoreXY-3D-Printer.
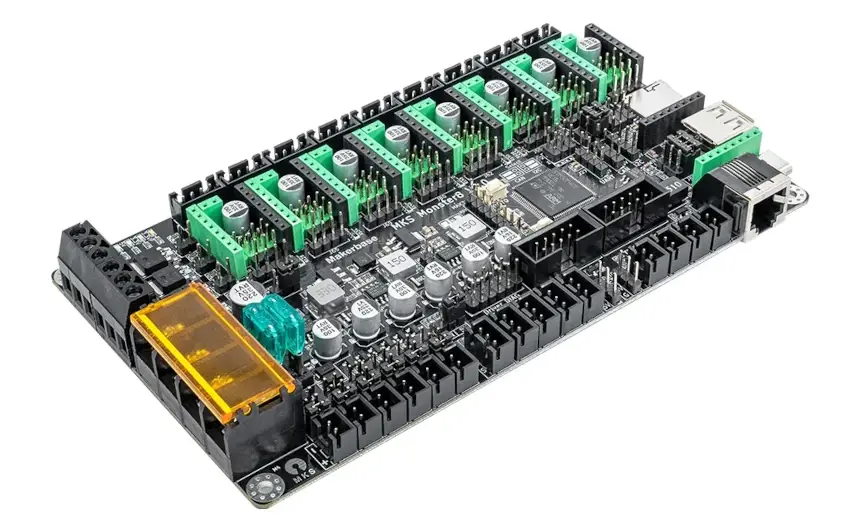
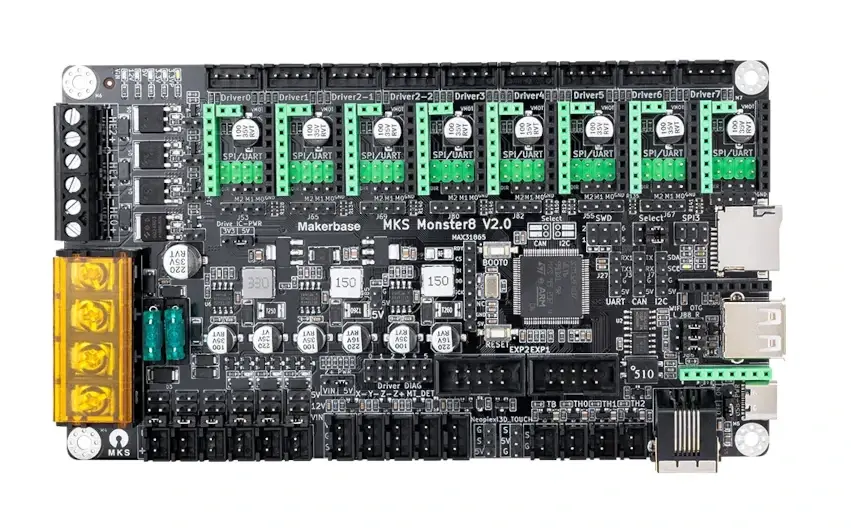
Key Features of the MKS DLC32:
- 32-bit High-Speed Processing – Ensures smoother motion and faster command execution.
- Supports Klipper & Marlin – Optimized for Klipper firmware, also compatible with Marlin 2.0
- 8 Stepper Driver Slots – Allows independent motor control for multi-axis configurations.
- TMC Driver Support – Compatible with TMC2209, TMC5160, and other UART/SPI drivers.
- Integrated Wi-Fi & USB Support – Remote monitoring and easy file transfer.
- Expandable Ports – Multiple PWM fans, temperature sensors, and endstop connections.
More information: Makerbase Official Page
Affiliate Link: Buy MKS Monster 8 on AliExpress
How to Build Your Own MY-Core XY
If you want to build your own 3d printer, you’ll find everything you need right here!
- Step 1: Download the 3D Models & Documentatio GitHub Repository
- Step 2: Gather the Necessary Parts.Use the BOM above to order all required components.
- Step 3: Print the 3D PartsIf you don’t own a 3D printer, consider using an online printing service.
- Step 4: Assemble the Frame & Motion SystemFollow the provided assembly guide to build the mechanical structure.
- Step 5: Install Electronics & FirmwareSet up the MKS Monster 8, wire all motors, sensors, and configure Klipper.
- Step 6: Test & CalibrateTune belt tension, extruder settings, and Input Shaping for optimal results.
Development Roadmap
Ongoing improvements to MY-CoreXY 3D Printer:
- Improve 3D drawing STEP files
- Change z axis pulley assembly
- Adjust board location for better access to power supply plug
- Adjust X-Axis height to engrave thicker materials
- Add emergency stop button
Legal Notice & License
This project is licensed under Creative Commons – Attribution – NonCommercial – ShareAlike (CC BY-NC-SA).
Project: MY-CoreXY 3D Printer | Author: Edgar Mata